Mastering the Emergency SOS iPhone Feature: A Comprehensive Guide
 Ethan James 05 May 2023
Your iPhone is not just a device designed for communication, entertainment, or productivity. It can also be a life-saving tool during emergencies. With the Emergency SOS feature, your iPhone can quickly call emergency services and alert your emergency contacts. In this guide, we'll cover everything you need to know about using the Emergency SOS iPhone feature to its fullest potential.
Setting Up Your Emergency Contacts
Before you can use the Emergency SOS feature, it's essential to set up your emergency contacts in the Health app. These contacts will be notified when you trigger an emergency call. Here's how to do it:
1. Open the Health app.
2. Select "Medical ID" from the menu.
3. Tap "Edit" in the top-right corner.
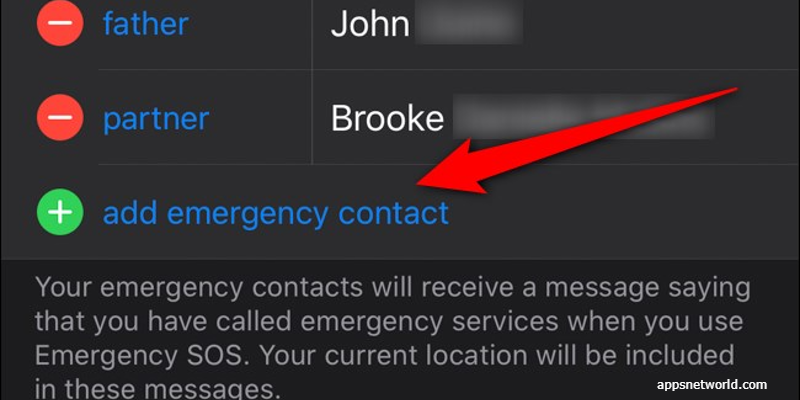
4. Go down to the "Emergency Contacts" option and click "Add Emergency Contact".
5. Choose a contact from your contacts list and select their relationship to you.
6. Repeat steps 5-6 for any additional emergency contacts you want to add.
7. Tap "Done" in the top-right corner to save your changes. Now that you've set up your emergency contacts, let's explore how to use the Emergency SOS feature.
Using Emergency SOS on iPhone 8 or Later
If you own an iPhone 8 or later model, follow these steps:
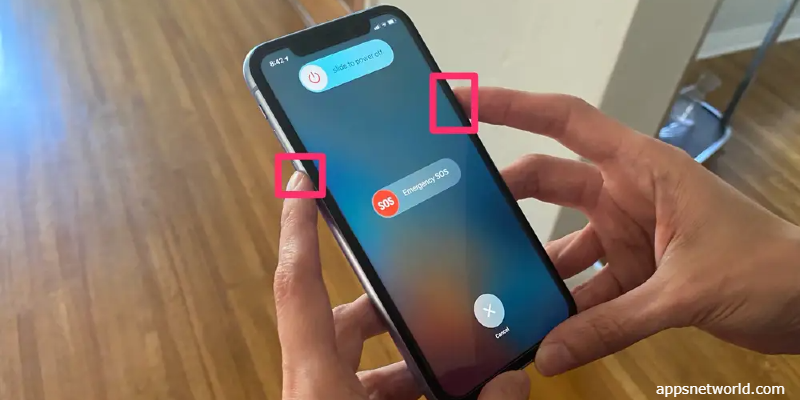
1. Tap and hold one of the Volume buttons (either Up or Down) and the Side button simultaneously.
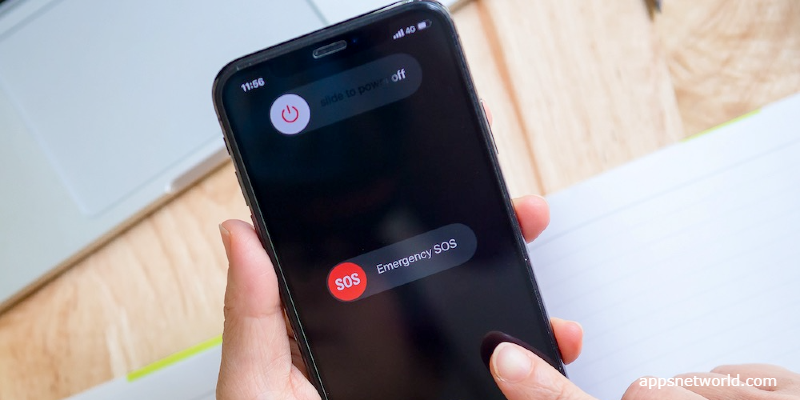
2. You'll see a slider labeled "Emergency SOS." Keep holding both buttons until a countdown starts, accompanied by an alert sound (this sound will play even if your phone is in silent mode).
3. Once the countdown reaches zero, your iPhone will automatically call local emergency services.
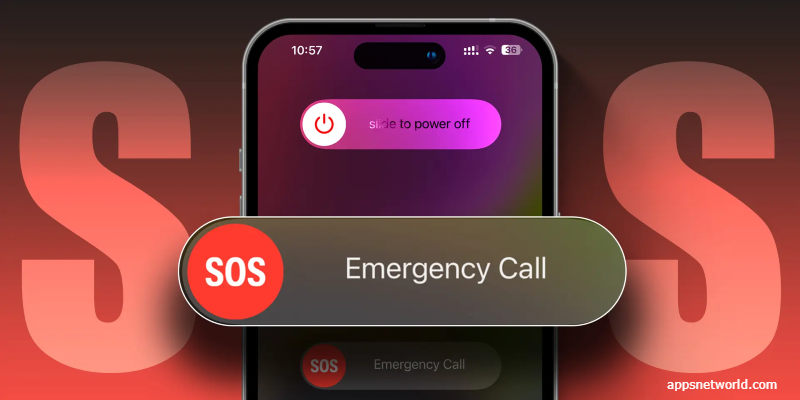
Alternatively, you can also use the slider to call emergency services manually:
1. Tap, then hold one of the volume keys and the side button.
2. When the "Emergency SOS" slider appears, swipe it to the right.
3. Your iPhone will initiate a call to local emergency services.
Using Emergency SOS on iPhone 7 or Earlier
For those with an iPhone 7 or earlier model, follow these steps:
1. Press the Side button (or Top button for iPhone 5 and earlier models) five times rapidly.
2. The "Emergency SOS" slider will appear on your screen.
3. Swipe the slider to the right to call local emergency services.
Canceling an Emergency Call
If you accidentally trigger an emergency call, you can cancel it before it connects:
1. On iPhone 8 or later: Tap "Cancel" on the bottom of your screen while the countdown is ongoing.
2. On iPhone 7 or earlier: Press the Side (or Top) button after swiping the "Emergency SOS" slider.
Keep in mind that a canceled call might still alert your emergency contacts, depending on when you canceled it during the countdown process.
Calling Specific Emergency Services
In some regions, you may have options to choose from different emergency services when using Emergency SOS:
1. Follow the steps mentioned earlier for your specific iPhone model to bring up the "Emergency SOS" screen.
2. Instead of swiping on "Emergency SOS," swipe left or right on other available options (e.g., Fire Department, Ambulance)
3. Swipe up on your desired service to initiate a call.
Remember that not all countries support this option of choosing specific emergency services through Emergency SOS.
Notifying Your Emergency Contacts
After an emergency call ends, your iPhone will automatically send a message with your current location to your emergency contacts. They will also receive updates if your location changes for the next 8 hours. If you want to stop sharing your location before the 8-hour period ends, follow these steps:
1. Open the Messages app.
2. Find the conversation with your emergency contact(s).
3. Tap "Stop Sharing" under the message that says, "You're currently sharing your location."
Now that you have a comprehensive understanding of how to use the Emergency SOS iPhone feature, you'll be better prepared to handle emergencies quickly and efficiently. Stay safe!


User's Reviews (0)
Your comment is awaiting moderation. We save your draft here
Leave a comment